How to hang a gallery wall

Gallery walls are, in a way, works of art in their own right – when you get the right pieces together in a format that enhances them individually, as well as a collective, it just makes sense. However, curating a gallery wall is not without its challenges – where do you begin, how do you know which pieces to hang together and how should you frame your chosen prints? We've attempted to address the essentials, so you can create a wall display that brings you joy every time you pause to consider it.
Choosing the perfect pictures
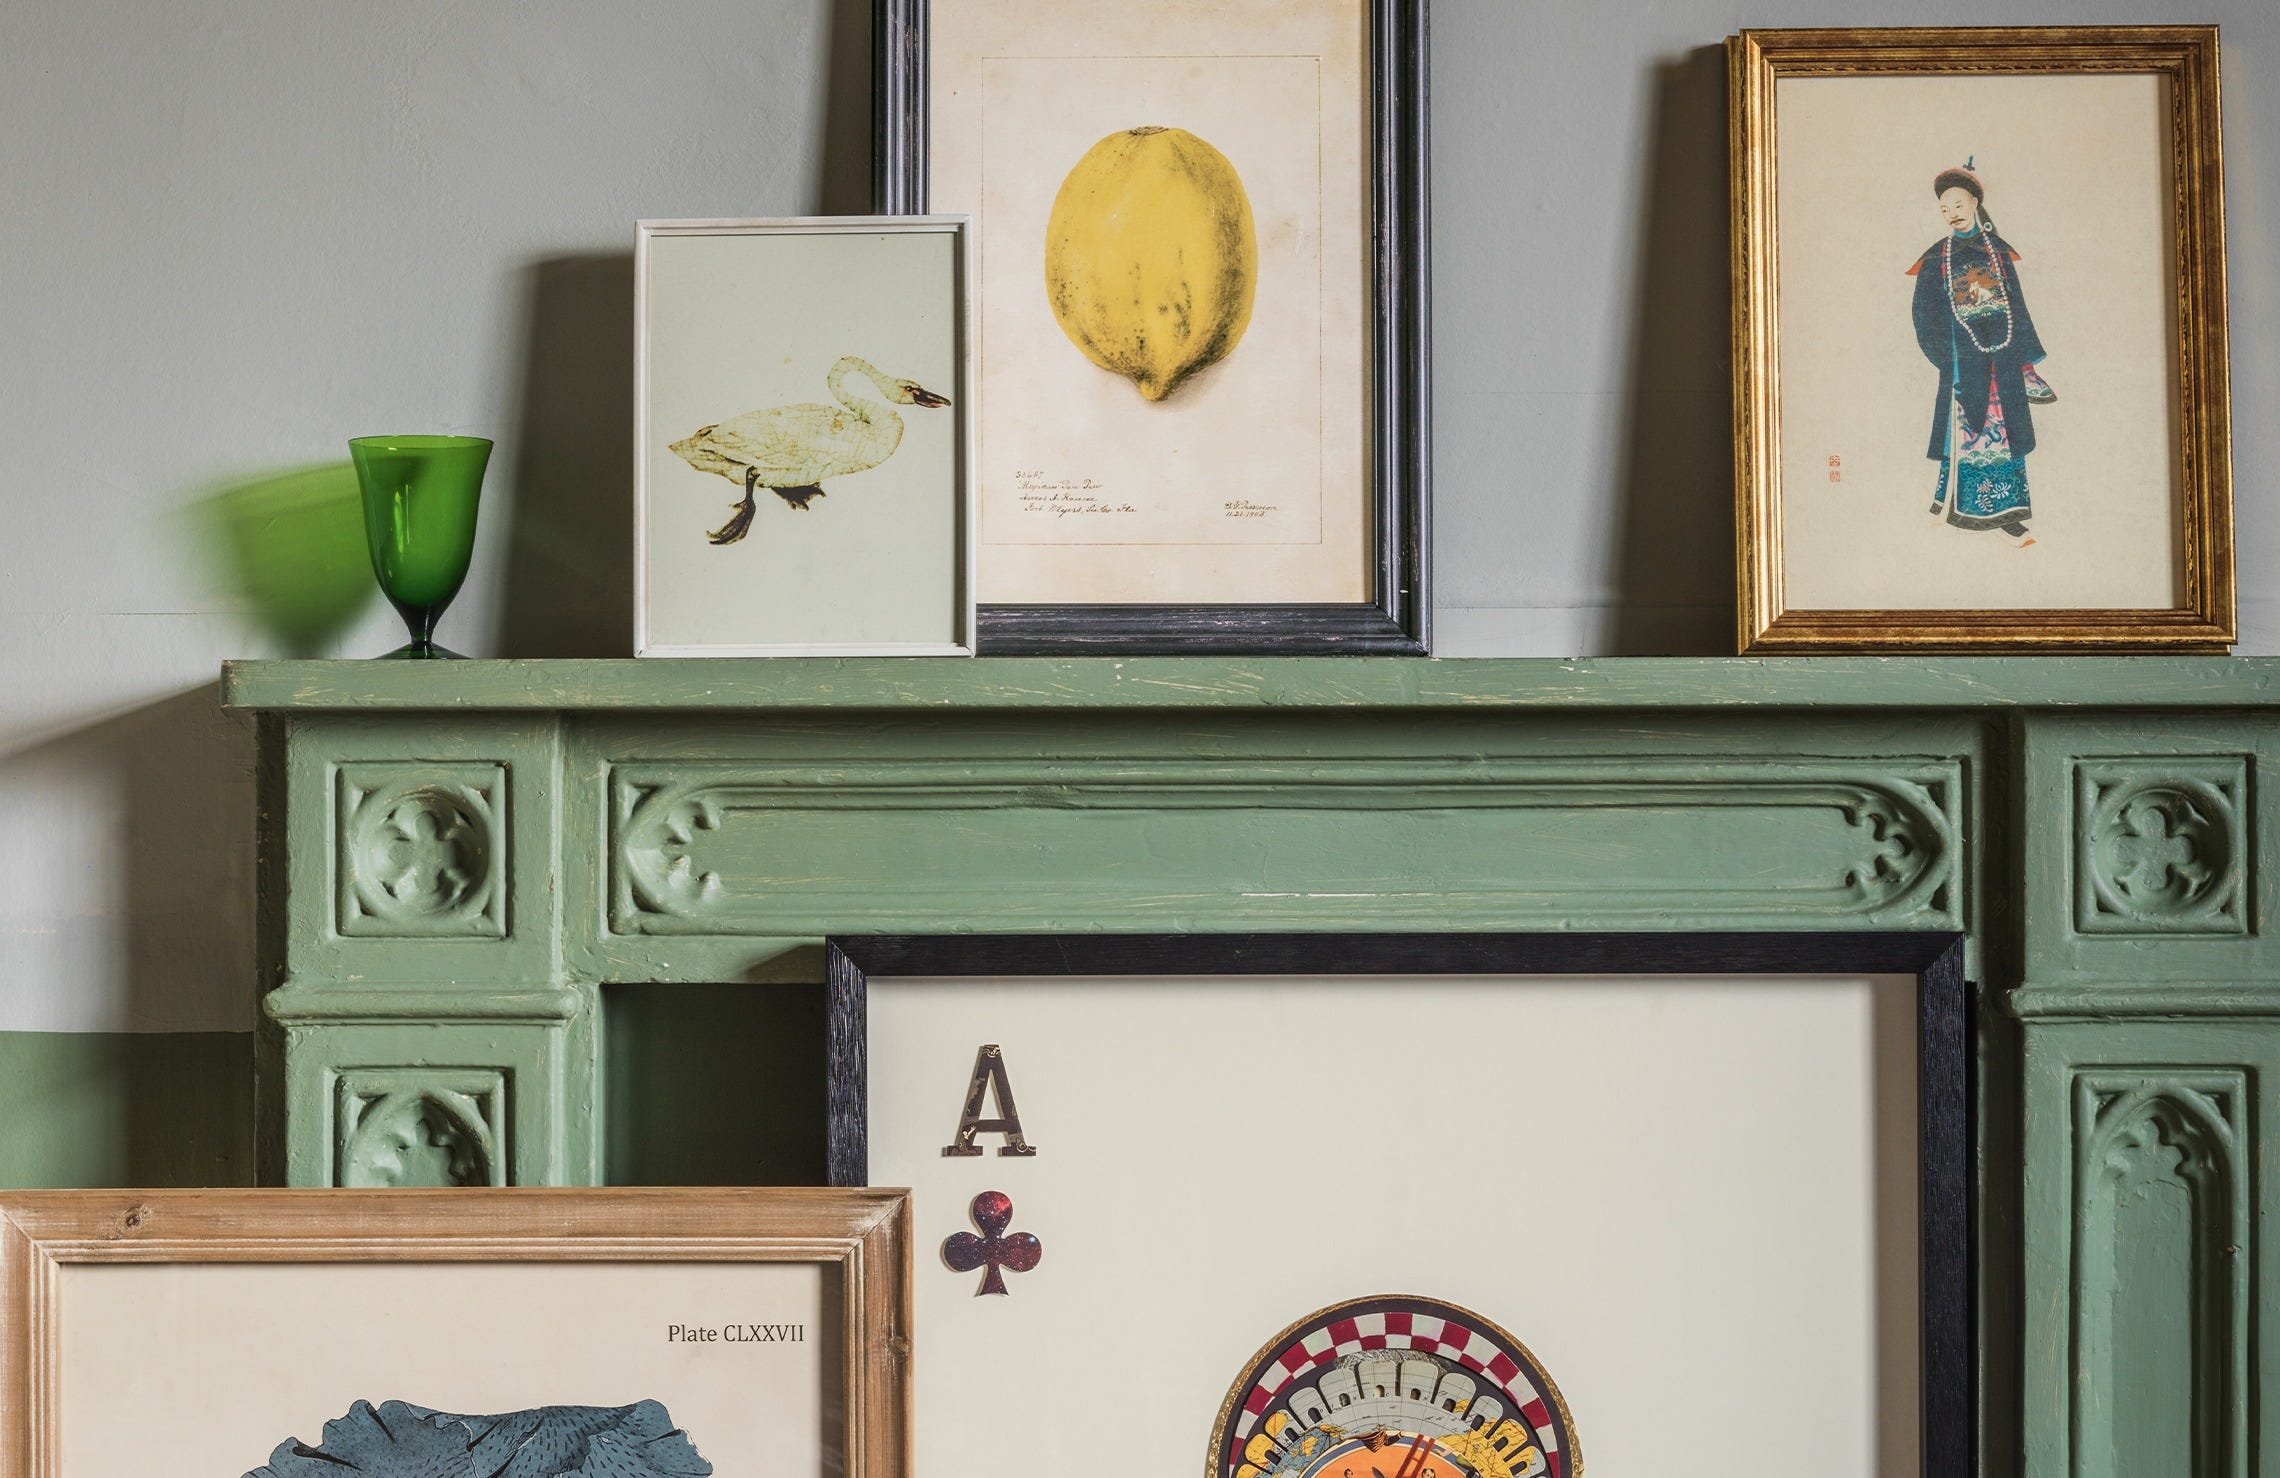
One of the joys of a gallery wall is that it allows you to show off a series of works that you love, rather than just one or two statement pieces. Even if they differ stylistically, your artworks, prints or even framed textiles and keepsakes have one thing in common: you have selected them, so it's likely there is a thread that draws them together, dictated by your own personal taste. This, in turn, means that with a little thought and care, you can find a cohesive way to display them all together.
That said, you might find that some paintings “argue” with one another if placed in close proximity, and that a single picture has the power to throw a whole ensemble off – for these reasons, it helps to have options to play with. It's also worth remembering that you don't have to hang every single item you own on one wall; the beauty of these groupings is that they look good in every type of space, on a large or small scale, so it doesn't hurt to be selective. If something isn't working, take it out of the mix and place it elsewhere.
Finding the right frames
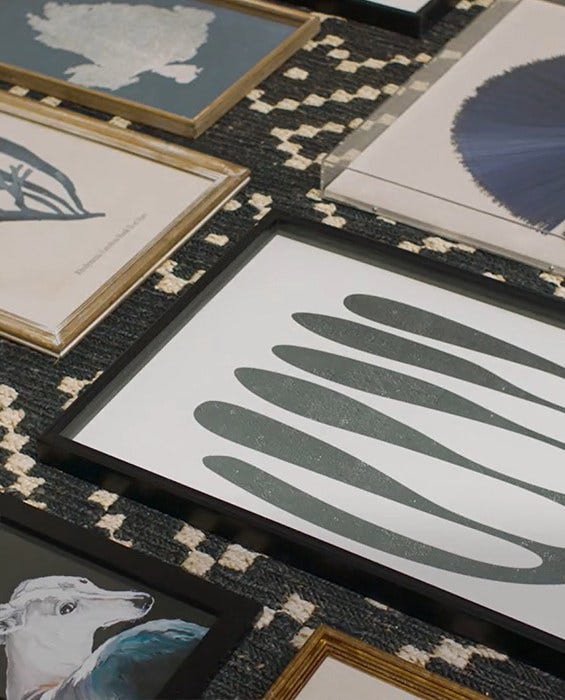
Creating a satisfying grouping extends beyond the art form you are planning to display, to the frame itself. In certain circumstances – with a set or series of the same size, in similar hues or produced exclusively by one artist, for instance – matching frames (whether that's style, colour or tone) can look really smart, and place the attention firmly on the display itself.
For an eclectic collection, or a little extra personality, mismatched frame styles can be visually enticing. They also add an extra layer of fun by virtue of the process of hunting them out, especially if you choose to use vintage or second-hand frames; scour out gems in your local second-hand shop, auction or antiques market, and match them up with your chosen pieces. (You might even find some new favourite prints or wall art to display while you're on the lookout for frames – that's a real win-win situation). Don't feel you have to encase contemporary prints in modern frames, either; mixing up styles, finishes and periods, can create an interesting and eye-catching contrast.
Map out your display
Clearly, diving right in and hanging pictures willy-nilly is not the way to achieve the striking gallery wall you aspire to. Instead, before you get happy with the contents of the toolbox, it helps to map out your display in the following way:
● First, decide which wall you plan to use as your backdrop and measure the available space (top to bottom and left to right, taking account of the height of any furniture that's placed in front of this wall, too). You don't have to fill this space – unless you particularly want to – but it helps to know your parameters.
● Using masking tape, transfer those measurements – or those of the space you want to utilise within that – onto the floor or another flat surface. A top tip if you have a busy patterned carpet or floorboards is to lay down a plain cotton sheet or neutral paper, so there's nothing distracting you.
● Start to lay out your pictures within the taped-out boundaries, trying different placements and configurations until you're happy with the results. You may want to start by choosing a focal point to put in the middle – ideally the largest painting or statement piece – and assemble the other pictures around it one by one. Alternatively, you could work upwards from a baseline (so the bottom edges of the picture frames are aligned), opt for symmetry for a more formal feel or play with asymmetrical stylings (that can be added to later, perhaps) – it's your call entirely.
Preparation is key
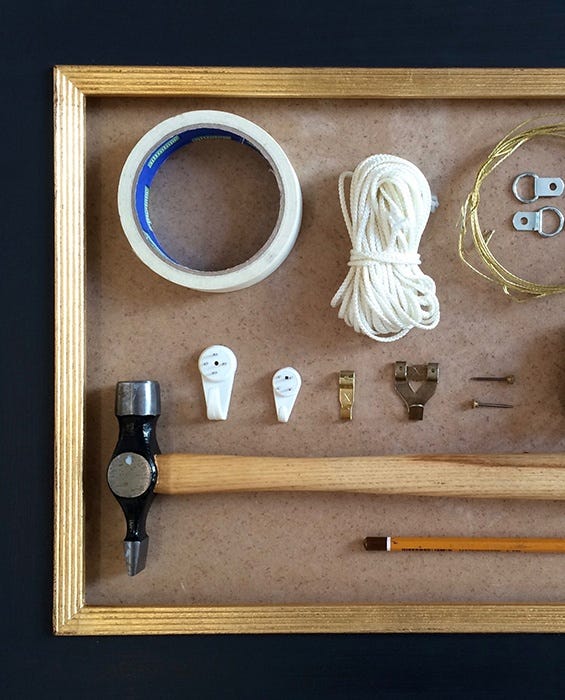
Before you begin, check each of the frames have safe, secure fixings on the back and that you have the appropriate hooks for your wall. Different wall surfaces require different hooks; if you don't know what your wall is made of, test it with a simple (standard) steel picture pin. If that does not tap in easily with a hammer, then use the white plastic “hard wall” hooks. You'll want to ensure the picture hooks or pins are suited to the weight of each picture – you don't want your precious pieces to fall down. And make sure you have a spirit level to hand!
X marks the spot
Hanging pictures is much easier if you have marks on the wall to indicate where you need to put your hooks. Regardless of your formation, you want to start with the middle picture first, and work outwards.
Measure the central point in your desired area, making a light mark on the wall with a pencil. This pencil mark is roughly where you want to put your first nail/hook, but hold the picture in place to make sure you're happy with its placement – remember, this mark is where the hook will be and not where the top of the picture frame will sit. If there's framing wire or cord across the back of the frame, check that you have allowed for any slack in these when the picture is hung.
If you have someone helping you, before you hammer in any pins or hooks, ask them to hold the frame in place so you can step back and check you're happy with its location. Make any adjustments – to the placement or the frame fixtures – and then you can tap in your first picture hook, and begin to hang your gallery wall properly.
We'd suggest that, after the first frame, you hang the pictures directly bordering your central picture – above, below and either side. This allows you to judge spacing, adjusting and adapting as you see fit. If you're happy with the height, you can go ahead, repeating the mark-check-adjust-fix process to hang the remaining display. Trust your eye, rather than getting too attached to a measuring tape. Don't worry if the space between pictures isn't totally equal – this is not an exact science and small irregularities can be charming. If something isn't sitting quite right after you place the pin, don't automatically make a new hole; tightening or slackening the wire on the back of the frame can change the height of the picture too.
Finally, don't forget that part of the beauty of the gallery wall is the versatility it affords. As your collection grows and changes, you can keep adding to your display, moving pieces around as you see fit. Gallery walls offer a talking point and a place to find ideas and inspiration – there's no need for it to remain static and unchanged. And, now you know how to hang one, you can make the most of that flexibility.